Fit Squares with Random Side Lengths along a Length
While loops and for loops both run a block of code repeatedly until a condition
evaluates to false. We typically decide which kind of loop to use based on readability
and clarity. Which kind of loop makes our code easier to follow and understand?
We generally use for loops if we know how many times the loop will repeat before
starting to loop. If we know we are going to run through a loop six times, then
initializing, evaluating, and updating the loop's condition in the for statement
makes our code easier to read and follow. However, if we don't know how often the
loop will repeat, using a while loop is often clearer.
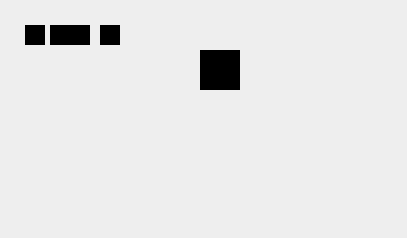
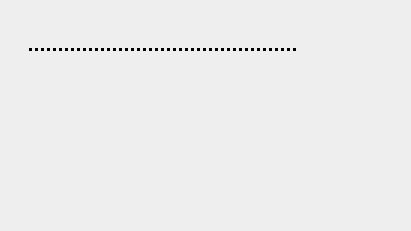
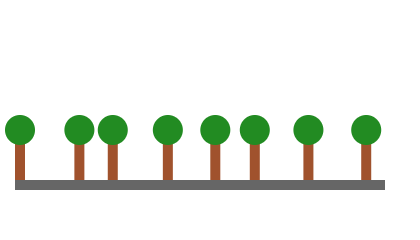
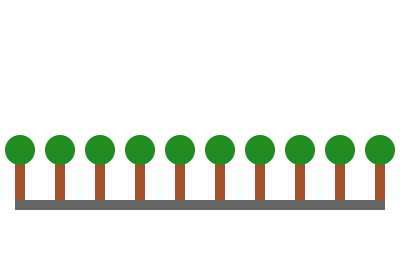
In this example, we are going to fit as many squares as possible along a length.
Because the size of the squares is random, there is no way to know ahead of time
how many squares will fit.
We are using the variable
rowLength
to store the length for the row of squares and the variable
x
to store the x-coordinate of the next square. We start by declaring both variables
and initialize
rowLength
with the value 360 and
x
with the value 0, the x-coordinate of the first square.
var rowLength = 360; // The length of the row of squares
var x = 0; // The x-coordinate of the next square
We want the while loop to continue running as long as the x-coordinate of the
next square is still within the length of the row. So, we use
x < rowLength
as our condition. If the x-coordinate of the next square is less than the length
of the row, we generate a random side length for the square, draw the square at the
coordinates
(x,
0), and update the variable
x
with the x-coordinate for the next square.
while (x < rowLength) {
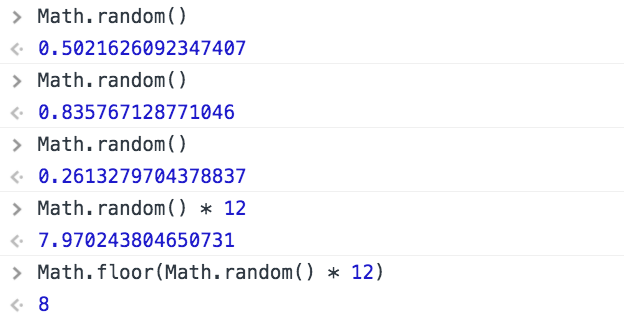
var sideLength = 20 + 60 * Math.random(); // Generate a random side length between 20 and 80
context.fillRect(x, 0, sideLength, sideLength);
context.strokeRect(x, 0, sideLength, sideLength);
x = x + sideLength; // Calculate the x-coordinate of the next square
}
Run the program several times to see what happens.
There are a few things worth noting. First, we can count the number of squares
to find the number of times the program ran through the loop. Second, the number
of squares changes depending on the sizes of the squares. Third, the row of squares
is longer than the
rowLength
because we are only checking the x-coordinate for the start of the square, not the
end. Fourth, we calculate the x-coordinate of the next square using the value stored in the
variable
sideLength,
which is a random number generated inside the while loop's code block. If we used
x = x + sideLength
to increment the variable
x
in a for statement, it wouldn't be clear where
sideLength
comes from. Doing the calculation inside the code block is clearer.
Quick Reference:
Coordinates
Variables
fillRect()
fillStyle
random()